I know I promised armour, but one of my roses is blooming bravely through the week of rain we've had and she deserves some fame. This is the lovely Wollerton Old Hall, a vigorous climber who's trying to eat my house despite having her roots in a 24-inch pot. She's marvelous.
 |
| Squeaky Cat, being helpful. |
And here is the beginning of laying out the pattern for padding to fill my cuisses before I start fighting in them. At least, it would be the beginning, if I could move the cat.
 |
| The Regal Floof and Captain Jerkface, taking a turn at helping (and demonstrating how my tape measure got its stylish crimped edging). |
Obviously that went well.
 |
| Padding approximately half an inch bigger than the total rigid surface area of the cuisses. |
Sadly after shooing all
three of the helpful cats off the fabric, I was too busy getting pieces cut to stop for photos. Also, you may notice some (gasp)
machine sewing. I didn't do it. But in the interest of efficiency and not ruining my wrists for anything else, the quilting is done by machine. I'm assuaging the dirty feelings by reminding myself that not only is this completely hidden armour, in which the padding is even more hidden (by nature of being the innermost layer), but the rigid part is made of
plastic and
aluminum. It's Fine.
 |
| Not pictured: the inch of mud I'm sitting in. |
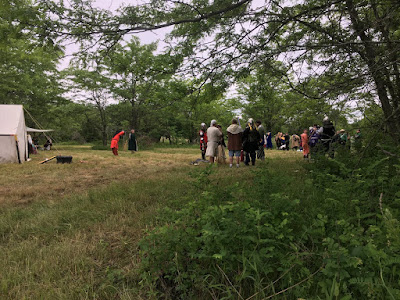
Digression for Melees and Mayhem, hosted by the Shire of Crescent Moon in a lovely site that was doing a splendid imitation of a highlands marsh (remember the week of rain? It was a whole thing). No melees (we don't like permanently damaging the ground), but some authorizations were had among the informal bouts that did happen, and I spent too much time holding still and sewing in the cold, so accidentally slept through afternoon court in my car where I was warming up.
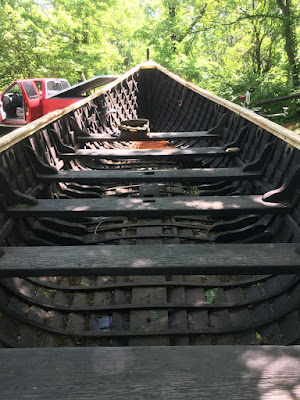 |
| She's such a beauty...even with the lake in her hull rather than outside it. |
I got to help with the Fyrdraca again! She was also full of water from...the rain...that I mentioned...so we rigged a bilge pump to drain most of it out again.
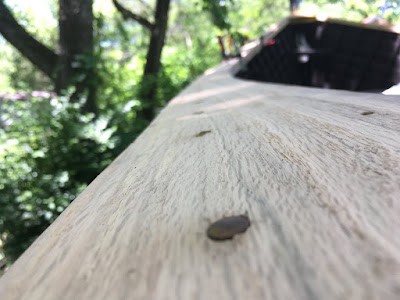 |
| I had to. Those swooping rails were begging for a short-focal-length shot. |
While I was there, we got the stringers (those are the skinny pieces that run along the edges and support the rails, pictured above) sanded smooth and several more sections of rail cut and fitted. Thankfully, there were taller people available to help, so I was saved hanging off the edge of the boat to pull things into place.
 |
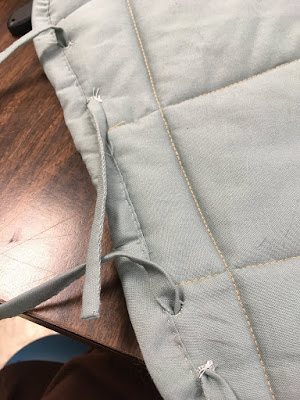
| Note the coordination with my sewing bag. |
Okay, back to padding. It's very hard to see here, but I marked the edges of each strap on the armour and the holes for lacing the padding and cuisses to a belt on the padding so I wouldn't need to cart around the armour, too. I'd originally thought to attach ties as I bound the padding, but I...forgot. Instead, I'm making eyelets to pass ties through, and the padding will be inserted into the armour, tied around each strap to control shifting as I wear them, and laced at the top with the armour to a belt.
 |
| Stabby stabby. Cotton batting is like trying to stab Kevlar with an overcooked noodle. |
I'm using knitting needles as impromptu awls, starting with a size 2 or 3 to start the hole, and stretching it with a size 11, I think, to make room for the fabric ties to pass through.
 |
| And again, with the bigger needle working as an awl. |
This would be easier if the 11 weren't a circular needle. There isn't much room to hold or brace it without crimping the cable.
 |
| Et voila! |
Eyelets made, fabric ties inserted, and this piece is halfway ready to be set in the cuisse! I didn't photograph the other side because I was trying not to think about wriggling my needles through three layers of batting six more times before I was done.
I was also struggling with arithmetic when I was making the ties, and only made four. There are four attachment points on each leg, so I'm halfway set for ties, too. It'll be a good break from sewing eyelets.


Comments
Post a Comment