Not to retread ground I've already passed over, but certain elements of the construction of the green and peach silk bliaut got skipped over in my mad rush to finish before Queen's Prize, and I'd like to have the records. Also, as I've preened about before, it's my blog and I'll natter if I want to. So: bodice construction part the first today! Part the second and attaching the skirt will follow...eventually.
 |
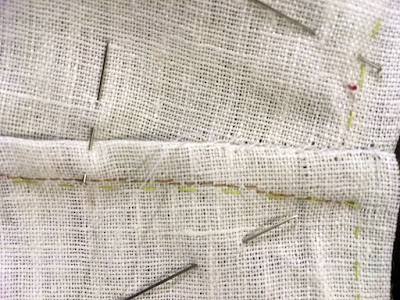
| Pin pin pin pin. I still love working with this fabric, even if it doesn't crease worth a damn when I want it to. |
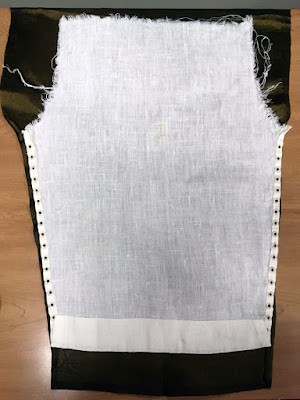
I trimmed and hemmed the side edges of the silk to match the size of the linen first; extra width would give me either vertical wrinkles (not what I want) or sad bagginess (
also not what I want). This way, I'd also decrease the number of raw edges I needed to worry about damaging as I carried the project here, there, and everywhere.

The side hems are on a slight bias, which makes them turn into helices under pressure! I was amused. (And no, I didn't iron
anything before hemming it.)
 Praise the lord the pieces match good gravy on a zebra.
 Ahem. Not that I was
worried or anything. I did iron before pinning the lining to the silk, and matched the lining pieces at the center of the single silk outer piece—I knew I'd be trimming away fabric to shape the shoulder seams, so saved myself some worry about extra raw edges until they were sewn. I also pinned the sides smoothly only to my underbust; the rest of the extra length of silk will be gathered and tacked down after I attach the skirt, to help hide the rough edge.
 |
| I probably should have tried harder not to stitch through my guide threads, but I was a woman on a deadline. |
I trimmed all the extra fabric down to nearly nothing before flat-felling the shoulder seams, hoping to minimize the bulk of fabric there.
 |
| Nice neat eyelets continue to be satisfying. |
I wanted to hide the eyelets as much as possible when the dress is on; they're a very 18th-century-through-Victorian solution to the problem of needing sturdy edges to support laces, so subtlety is the goal. To that end, I needed to tack down the silk between each eyelet; even under strain, they're only half an inch apart and should stay tucked neatly under the silk edge.
 |
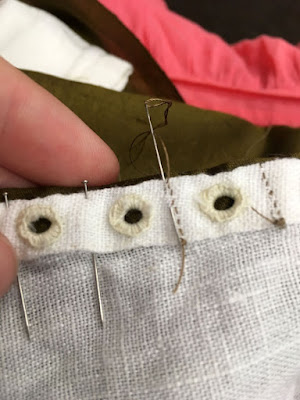
| Itty bitty stitches to the edge... |
I took tiny stab stitches through all layers across the width of the eyelet hem first.
 |
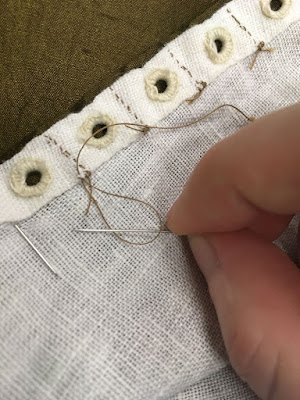
| ...and itty bitty stitches back down. |
Then tucked the needle through the lining most of the way back, with one tiny tack at the center of the band.
 |
| I had been going for "immaculate construction inside and out," but I didn't quite engineer the order of operations enough for that. Next time I'm hiding all my tails! |
I clipped my tails shorter than the width of the eyelet band so they wouldn't show when I wore the dress, but I'd still like to make a dress someday that's perfectly finished inside and out.
 |
| Proof that I can and will sew almost anywhere. I hope I didn't shed any pins. |
After trimming the excess fabric at the armscyes down, I flipped the raw edges inward and whipstitched them together, lapping the silk a tiny bit over the linen to increase my chances of hiding it entirely when I set the sleeves.
 |
| Arteestic. Gotta have one of those every now and then. |
At last, a close-up of the tacking stitches from the right side; even at this distance, I think they're subtle enough to blend in on a body in motion. The slight bubbling should also vanish with a little tension on the fabric.
 |
| Notice anything important missing? |
There are approximately a million photos of the next few steps, so this is where I'll leave it for now—half-constructed and lacking a neck hole.


Comments
Post a Comment